Introducing the Cooling Comfort of a Window Air Conditioner
During sweltering summer months, finding a respite from the heat can seem like a daunting task. Thankfully, window air conditioners offer a convenient and effective solution to beat the oppressive heat. These units provide personalized cooling within a designated space, allowing you to create a comfortable oasis without the need for expensive central cooling systems. Whether you’re a first-time user or a seasoned expert, understanding how to properly remove a window air conditioner is crucial for its safe operation and optimal performance.
Image: d15qxg8u6b4zo9.cloudfront.net
Step-by-Step Guide to Safely Removing a Window Air Conditioner
Removing a window air conditioner may seem daunting, but with careful planning and a systematic approach, you can accomplish this task with ease. Here’s a step-by-step guide to help you through the process:
-
Unplug the Unit and Turn Off Power
Safety first: Before you begin the removal process, disconnect the air conditioner from its power source by unplugging it. Then, switch off the circuit breaker or remove the fuse that powers the unit to completely isolate it from electricity.
-
Drain the Water and Reattach the Drain Cap
Window air conditioners accumulate condensed water during operation. Before you remove the unit, you need to drain this excess water. Locate the drain plug, usually a small rubber or plastic cap on the back or bottom of the unit. Place a shallow pan beneath the drain to collect the water, then remove the cap and allow all the water to drain out. Once it’s completely drained, replace and tighten the drain cap.
-
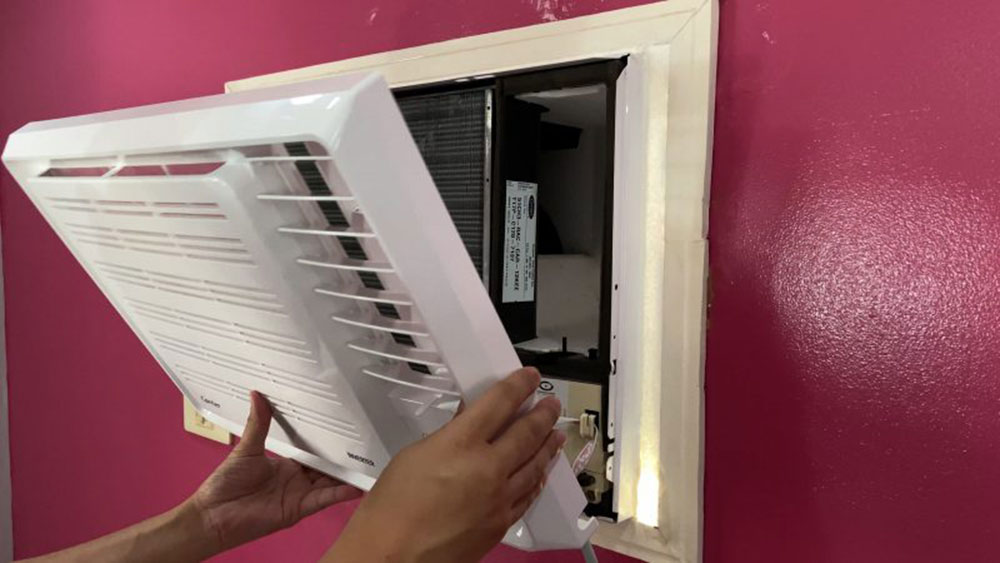
Image: www.impressiveinteriordesign.comDisconnect the Mounting Screws
Window air conditioners are typically secured in place using two mounting screws located on the sides of the unit. These screws extend through the chassis and into the window frame. Use a screwdriver to loosen and remove these screws, but do not completely remove them. They will help support the unit as you move it out of the window.
-
Remove the AC Unit
Carefully lift and support the air conditioner from the bottom. Gradually pull it out of the window opening, allowing the weight to rest on the mounting screws. Gently lift and tilt the unit as you slide it out, taking care not to damage any components or the window frame.
-
Clean the Window Frame and Storage
After removing the air conditioner, clean the window frame and the area where the unit was installed. Remove any dust, dirt, or debris that may have accumulated. If you’re planning to store the air conditioner for the winter, choose a dry and protected location. Cover it with a plastic bag or tarp to protect it from dust and moisture.
How To Remove Air Conditioner From Window
Conclusion: Embracing Comfort and Efficiency
By following these steps, you can safely remove your window air conditioner, ensuring a comfortable indoor environment when you need it most. Remember to prioritize safety, drain the water properly, disconnect the unit, and seek expert assistance if necessary. With proper care and maintenance, your window air conditioner will provide years of cooling comfort, reducing the impact on your energy bills and enhancing your overall well-being.
